以图搜图向来都是一种重要的信息检索方式,比如说看到街上某人穿的衣服淘宝搜索一下、又比如检索包含某个头像的网页。低质量图查找原始图片,再比如视频监控的人脸匹配,都离不开基于按图片检索的方式。
实现以图搜图通常来讲主要需要做两件事
特征提取 可以直接用VGG模型来提取特征向量,实际测试在查询整体结构相似性上效果很不错,局部特征的话还是有点问题,但用来做广告创意的检索效果还是不错的。
准备一个API来做图片特征向量提取,考虑到特征提取服务整体比较耗资源的、为了便于后期scale up, 我选择了把他部署到阿里云函数计算上,事实上serverless目前最好的实践就是model serving。
1
2
3
4
5
6
7
8
9
10
11
12
13
14
15
16
17
18
19
20
21
22
23
24
25
26
27
28
29
30
31
32
33
34
35
36
37
38
39
40
41
42
43
44
45
46
47
48
49
50
51
52
53
54
55
56
57
58
59
60
61
62
63
64
import osimport loggingfrom flask_cors import CORSfrom flask import Flask, request, send_file, jsonifyimport tensorflow as tfimport jsonfrom flask import make_responseimport numpy as npfrom keras.applications.vgg16 import VGG16from keras.applications.vgg16 import preprocess_input as preprocess_input_vggfrom keras.preprocessing import imagefrom numpy import linalg as LAapp = Flask(__name__) ALLOWED_EXTENSIONS = set(['jpg' , 'png' ]) CORS(app) model = None def vgg_extract_feat (img_path) : global model img = image.load_img(img_path, target_size=(224 , 224 )) img = image.img_to_array(img) img = np.expand_dims(img, axis=0 ) img = preprocess_input_vgg(img) feat = model.predict(img) norm_feat = feat[0 ] / LA.norm(feat[0 ]) norm_feat = [i.item() for i in norm_feat] return norm_feat def initializer (start_response) : print('initliaze' ) global model weight = os.getenv("WEIGHT_PATH" , "imagenet" ) print(weight) hasFile = os.path.exists(weight) if hasFile: print('has model weight' ) model = VGG16(weights=weight, input_shape=(224 , 224 , 3 ), pooling='max' , include_top=False ) print('warmup predict' ) model.predict(np.zeros((1 , 224 , 224 , 3 ))) @app.route('/api/v1/extract', methods=['POST']) def do_train_api () : file = request.files.get('file' , "" ) if not file: return "no file data" , 400 if not file.name: return "need file name" , 400 try : norm_feat = vgg_extract_feat(file) if norm_feat: return json.dumps(norm_feat) return "Test" except Exception as e: return "Error with {}" .format(e) def handler (environ, start_response) : return app(environ, start_response)
/api/v1/extract 接口接收图片文件,返回图片特征向量,VGG返回的是512维的特征向量
依赖requirements.txt
1
2
3
4
5
6
7
8
flask-cors Keras numpy Pillow flask flask_restful gunicorn tensorflow
函数计算 fun 配置文件template.yml
1
2
3
4
5
6
7
8
9
10
11
12
13
14
15
16
17
18
19
20
21
22
23
24
25
26
27
28
29
30
31
32
33
34
35
36
37
38
ROSTemplateFormatVersion: '2015-09-01' Transform: 'Aliyun::Serverless-2018-04-03' Resources: ImageSearch: Type: 'Aliyun::Serverless::Service' extract: Type: 'Aliyun::Serverless::Function' Properties: Handler: app.handler Initializer: app.initializer InitializationTimeout: 200 Runtime: python3 MemorySize: 2048 Timeout: 6 CodeUri: ./ EnvironmentVariables: PYTHONUSERBASE: /mnt/auto/python WEIGHT_PATH: /mnt/auto/models/vgg16_weights_tf_dim_ordering_tf_kernels_notop.h5 Events: httpTrigger: Type: HTTP Properties: AuthType: ANONYMOUS Methods: ['POST', 'GET' , 'HEAD' , 'PUT' , 'DELETE' ] Properties: NasConfig: Auto LogConfig: Project: "imagesearch-log" Logstore: "logs" imagesearch-log: Type: "Aliyun::Serverless::Log" Properties: Description: "logs" logs: Type: "Aliyun::Serverless::Log::Logstore" Properties: TTL: 2 ShardCount: 1
安装函数计算工具 fun cnpm install fun -g 设置好api key和region后
另外还需要把vgg的权重文件放置到.fun\nas\auto-default\ImageSearch\models目录下,参考文档 ,模型下载地址
执行 fun deploy 部署
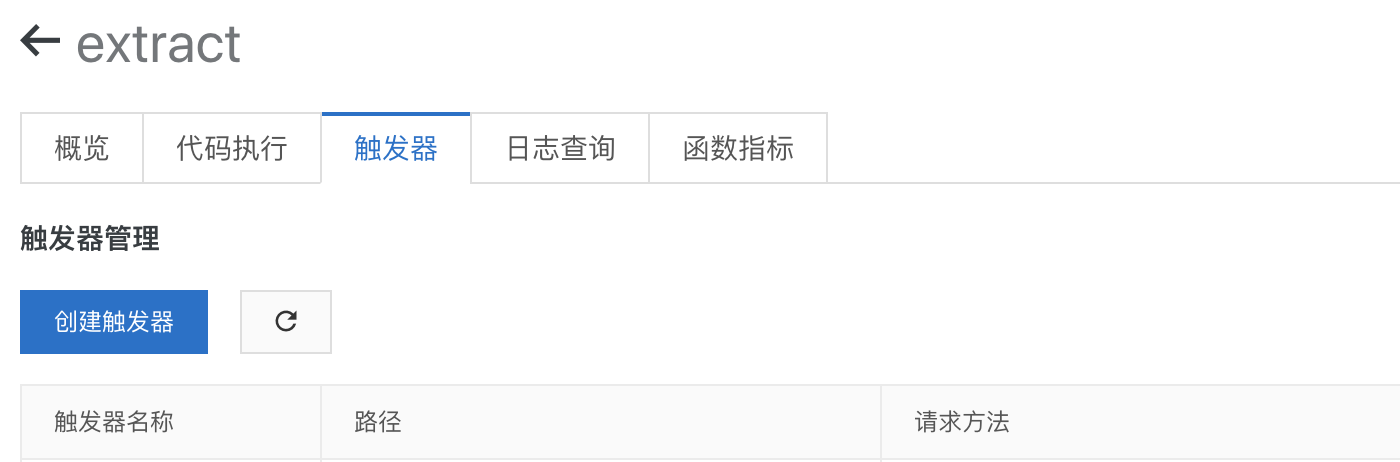
接着创建一个HTTP触发器,这样特征提取API就准备好了详见
接口地址:${HTTP触发器路径}/api/v1/extract
提供一个API 1 2 3 4 5 6 7 8 9 10 11 12 13 14 15 16 17 18 19 20 21 22 23 24 25 26 27 28 29 30 31 32 33 34 35 36 37 38 39 40 41 42 43 44 45 46 47 48 49 50 51 52 53 54 55 56 57 58 59 60 61 62 63 64 65 66 67 68 69 const fetch = require ('node-fetch' );const FormData = require ('form-data' );const http = require ('http' );const https = require ("https" );const API_ENDPOINT = `${HTTP触发器路径} /api/v1/extract` , async function getVectorByStream (stream, opts ) const form = new FormData(); if (opts) { form.append('file' , stream, opts); } else { form.append('file' , stream); } const rest = await fetch(API_ENDPOINT, { agent: function (_parsedURL ) if (_parsedURL.protocol == 'http:' ) { return httpAgent; } else { return httpsAgent; } }, method: 'POST' , body: form, headers: form.getHeaders() }); let vetors = null ; const text = await rest.text(); try { vetors = JSON .parse(text); } catch (e) { console .log(text, opts.knownLength) throw e; } return vetors; } async function getImageFeatureVectorByURL (img ) const res = await fetch(img, { agent: function (_parsedURL ) if (_parsedURL.protocol == 'http:' ) { return httpAgent; } else { return httpsAgent; } } }); if (res.status != 200 ) throw new Error ('image not found' ); const fileSize = res.headers.get('content-length' ); const fileType = res.headers.get('content-type' ); if (fileType == 'image/webp' ) { throw new Error ('not support ' + fileType); } let result = null ; try { result = await getVectorByStream(res.body, { filename: Math .round(Math .random() * 1000000 ) + '.jpg' , contentType: fileType, knownLength: fileSize, }); } catch (e) { throw e; } if (result != null && result.errorMessage) { console .log('imageSize' , fileSize, 'fileType' , fileType) } return result; }
getImageFeatureVectorByURL 接收一个图片URL,返回特征向量
特征索引 Milvus是我在调研Elasticsearch的图片检索方案的时候意外发现的,他的前身是faiss。通过它我们可以把提取到的特征向量交给它索引,再通过它来检索特征相似的结果。
安装 运行docker cpu版的milvus
1 docker pull milvusdb/milvus:0.6.0-cpu-d120719-2b40dd
1
2
3
4
mkdir -p /home/$USER/milvus/conf cd /home/$USER/milvus/conf wget https://raw.githubusercontent.com/milvus-io/docs/v0.6.0/assets/server_config.yaml wget https://raw.githubusercontent.com/milvus-io/docs/v0.6.0/assets/config/log_config.conf
1
2
3
4
5
6
7
docker run -d --name milvus_cpu \ -p 19530:19530 \ -p 8080:8080 \ -v /home/$USER/milvus/db:/var/lib/milvus/db \ -v /home/$USER/milvus/conf:/var/lib/milvus/conf \ -v /home/$USER/milvus/logs:/var/lib/milvus/logs \ milvusdb/milvus:0.6.0-cpu-d120719-2b40dd
建立一张表 安装依赖 npm install @arkie-ai/milvus-client, 建立一张512维的表
1
2
3
4
5
6
7
8
const client = new Milvus.MilvusClient(M_HOST, 19530 );const TABLE_NAME = 'images' ;const createTableResponse = await client.createTable({ table_name: TABLE_NAME, dimension: 512 , index_file_size: 1024 , metric_type: 1 , });
索引API
1
2
3
4
5
6
7
8
9
10
11
12
13
async function indexVectors (vectors ) const insertResponse = await client.insert({ table_name: TABLE_NAME, partition_tag: '' , row_record_array: vectors.map(_ => return { vector_data: _.vectors }; }), row_id_array: vectors.map(_ => }); return insertResponse; }
搜索API
1
2
3
4
5
6
7
8
9
10
11
12
13
14
15
16
async function searchByFile (path, opts = {} ) const vectors = await getImageFeatureVectorByURL(path); const searchResponse = await client.search({ table_name: TABLE_NAME, query_record_array: [ { vector_data: vectors, } ], topk: opts.limit || 50 , nprobe: 2 , partition_tag_array: [], query_range_array: [], }); return searchResponse; }
另外milvus 0.6版本只提供存储特征向量对应的ID,需要在外部数据库存储图片特征向量的原始数据,还得记录那些图片是已经导入到milvus的
索引图片
1
2
3
4
5
6
7
8
9
10
11
12
13
14
15
16
17
18
19
20
21
22
const API = require ('./api' );const images = [ { src: 'http://wx2.sinaimg.cn/mw600/6dd57921gy1gg9k3etk3oj20pe16o78e.jpg' , id: 1 }, { src: 'http://wx1.sinaimg.cn/mw600/00792It8ly1gg9izy4ldgj30u00u0q6f.jpg' , id: 2 } ]; for (let index = 0 ; index < images.length; index++) { const image = images[index]; const vectors = await API.getImageFeatureVectorByURL(image.src); await API.indexVectors([ { vectors: vectors, _id: image.id } ]); }
按图片检索
1
2
const result = await API.searchByFile('http://wx1.sinaimg.cn/mw600/00792It8ly1gg9izy4ldgj30u00u0q6f.jpg' );console .log(result)